
Much like the scaffolds used to hold up a building in the construction process, instructional scaffolds support learners as they progress toward mastery of the goals outlined in your lessons. Think of it like putting training wheels on a bicycle until a child can balance on their own and pedal away!
In this article, we’re exploring:
- What instructional scaffolding is
- Why scaffolding helps learners get more out of your courses
- Different scaffolding strategies to implement in your classroom
What is Instructional Scaffolding?
If you have ever seen a house being built, you know that they have scaffolding around them to help them stand during construction. Once the house is strong enough, the scaffolds slowly come down. It’s the same idea!
Instructional scaffolds are teaching techniques that use temporary support structures to guide learners toward learning a new task or concept they might have been unable to achieve or understand on their own.
The educator breaks the learning into chunks and provides a tool with each chunk. These supports are slowly removed once the learner starts understanding the topic better.
What does this mean for you in your online classroom? Using scaffolding as part of your teaching strategy is important because:
- You can make your classes more accessible to more learners and grow your online teaching business.
- Learners are more likely to achieve the objectives of your classes with effective scaffolding techniques.
- Parents are happy that their child is progressing with customized support, even within a group class.
To get started, be sure to check out these articles to better understand scaffolding and how you can incorporate it into your online classroom:
- How to scaffold project-based learning implementation
- Using technology to structure and scaffold real-world experiential learning in distance education
- 7 scaffolding learning strategies for the classroom

Why use scaffolding techniques
According to Northern Illinois University, “One of the main benefits of scaffolded instruction is that it provides for a supportive learning environment.” This benefit aligns with the Expertise Pillar of Outschool’s ACE framework in the way that it supports learners at all stages of mastering a concept.
There are numerous ways to scaffold any lesson to ensure all learners receive support. On a global platform like Outschool, an educator must be ready to support learners that come to class from different backgrounds and at differing levels.
Engage with learners
Through scaffolding supports, learners can take a more active role and share the responsibility of teaching and learning. Instructional scaffolding enables learners to move beyond their current skill and knowledge levels and take ownership of their learning journey.
Scaffolds should be part of the planning process when an educator develops their lesson. Think about how you will get your learners from point A to point B. Educators must consider the developmental stage and background knowledge their learners might bring to class.
To determine this knowledge, educators should find ways to assess learner understanding to drive instruction and their use of planned scaffolds. Assessments should occur before, during, and after each lesson.
How to scaffold with young learners
Let’s take a look at how one popular scaffolding set-up tool, a KWL chart can bring this to life in class. A KWL chart asks learners to share what they Know, Want to know, and Learned both before and after the lesson. Introducing this chart helps the educator establish each learner’s proficiency level with the class topic and plan additional scaffolding tools to help them progress toward a class objective.
At this point, an educator may be able to say “Okay, most learners here are at about the same level and we can do X activities together.” Or, they may realize “Two learners are at a beginner level, and two learners are already fairly knowledgeable. I’m going to need some flexible, varied activities to engage both groups during class.”
How to scaffold with older learners
For more advanced classes, or in classes with older learners, you can use performance tasks and apply real-world problem-solving as part of your teaching. Doing so allows learners to make and learn from their mistakes, try again, and build toward mastery. For example, IEW writing classes use the EZ+1 methodology. This means that learners are taught a writing skill until it becomes “easy” and at that point, they add a new skill (+1).
Teaching with scaffolding can help learners gain confidence in the classroom as they learn new skills and ideas. By establishing levels and then planning which supports should be added and removed for each learner, you can give your learners a big boost toward success in your class.

Types of Scaffolds
The types of scaffolds used with your learners depend on the content you’e teaching and your lesson objectives. There are a variety of scaffolds for accommodating your learners’ differing levels of knowledge. More complex content and skills may require different scaffolds to help your learners master the content.
Scaffolds should complement your instructional objectives and help to break the tasks into smaller, more manageable parts. Some common instructional scaffolds are:
Advance organizers
Organizers are tools given before your lesson, either on the classroom page or through direct messages, to help learners activate background knowledge and assimilate new information. Some examples are: note-taking outlines to use during instruction, flow charts, Venn diagrams to compare and contrast, rubrics that provide task expectations, mnemonic devices to assist recall of terms, and a model of the finished product.
Need some inspiration or looking for templates to help get you started? Check out these flow charts and Venn diagrams on Canva.
Cue cards
Prepared cards are given to learners to assist small group discussion (sometimes with a different role assigned to each learner), vocabulary terms, content-specific stem sentences to complete, formulas for problems, and concepts in advance. With sites such as Quizlet, you can use virtual flashcards or create your own on Google Jambaord. If you have younger learners in class, you can create picture-based flashcards using Google Slides or Canva. Just make sure that if the third-party tools you use are approved and noted on your class listings.
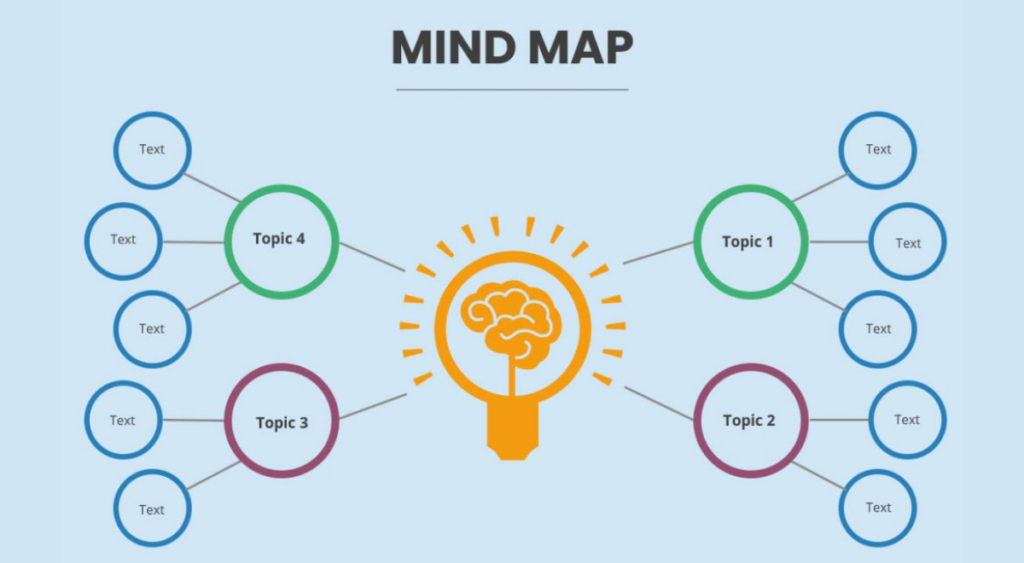
Concept and Mind Maps
Create a visual diagram representing tasks, words, concepts, or items linked and arranged around a central subject. Project Management Institute (PMI) notes that “Mind Mapping increases learning and retention by up to 95% over conventional note-taking.”
Question formulation techniques
Intentional questions require learners to use higher-order thinking skills. Questions can be differentiated, made easier or harder, depending on how learners respond. Question formulation techniques don’t have to be complicated! These can be simple using Zoom interactions such as:
- Learner polls in Zoom
- Conducting a learner quiz with Zoom games or an approved third-party tool
- Having learners answer an exit ticket before leaving in the chat or using one of these suggestions from Ditch That Textbook
Visual Aids
Information paired with visual examples and graphic organizers to help organize ideas to reach the final product. You can create slides, interactive storyboards, and more to grab your learners’ attention while presenting new information.
Guidelines for implementing scaffolds
You know better than anyone whether scaffolding will work for your classes. When implementing instructional scaffolds, especially on a global platform like Outschool, planning is important. Use the following as guidelines:
- Allow your learners to help create their instructional goals.
- Consider learner backgrounds, culture, and prior knowledge, especially when assessing progress.
- Try multiple supports since different scaffolds will work for different learners.
- Provide encouragement and praise along the way.
- Allow learners to self-monitor their progress when feasible.
- Create a welcoming, safe, and supportive learning environment that encourages learners to take risks.
- Gradually help learners to become less dependent on your instructional support. The goal should be independence.
Don’t forget that trial and error go a long way! Play around with different scaffolds to see which works best with your teaching style and your learners.
For more ways to implement scaffolding in your classroom, read about the 18 ways to scaffold learning in the classroom.
Benefits of instructional scaffolding
At Outschool, one of our goals is to create a fun, engaging environment for all learners. With scaffolding, the goal is to create a learning environment in which learners at all skill levels can succeed. When deciding if you want to implement instructional scaffolding you should know about some of the main benefits it offers:
- Provides a welcoming and caring learning environment.
- Encourages self-directed, learner-led instruction.
- Engages learners in meaningful, dynamic discussions.
- Allows educators to provide effective instruction to diverse learners.
- Increases the likelihood for learners to meet instructional objectives.
While there are challenges associated with scaffolding, the intention is to create a more prepared and engaging learning environment to outweigh the initial setup.
Want to learn more ideas to help you in (and out of), the Outschool classroom? Be sure to check out these resources in the Educator Library:
